Easiest Way To Run Nexus With Docker
The easiest way to set up Nexus on any OS

Nexus and Docker are two powerful tools that are widely used in the software development and deployment process. Nexus is a repository manager that allows developers to store and manage their software artifacts, while Docker is a containerization platform that enables the packaging and running of applications in isolated environments.
Running Nexus with Docker offers several benefits, including improved scalability and flexibility, simplified deployment and management, and increased security and reliability. In this article, we will explore these benefits in detail, provide a step-by-step guide to running Nexus with Docker, troubleshoot common issues that may arise, discuss best practices for running Nexus with Docker, and consider future developments in Nexus and Docker integration.
Benefits of Running Nexus with Docker
- Improved scalability and flexibility: By running Nexus with Docker, you can easily scale your infrastructure to meet the demands of your development team. Docker containers are lightweight and can be quickly spun up or down as needed, allowing you to easily add or remove instances of Nexus. This flexibility also extends to the ability to run Nexus on different operating systems or cloud platforms, making it easier to adapt to changing requirements.
- Simplified deployment and management: Docker provides a standardized way to package and distribute applications, including Nexus. With Docker, you can create a container image that includes all the necessary dependencies and configurations for running Nexus. This image can then be easily deployed on any machine that has Docker installed, eliminating the need for manual installation and configuration. Additionally, Docker provides tools for managing containers, such as Docker Compose, which allows you to define and manage multi-container applications.
- Increased security and reliability: Running Nexus with Docker can enhance the security and reliability of your software artifacts. Docker containers provide isolation between applications, preventing them from interfering with each other or accessing resources they shouldn’t. This isolation also helps protect your Nexus instance from potential security vulnerabilities in other parts of your infrastructure. Furthermore, Docker images can be versioned and tagged, making it easy to roll back to a previous version if a problem occurs.
Step-by-Step Guide to Running Nexus with Docker
- Installing Docker
- Setting up Nexus with Docker: Once Docker is installed, you can proceed to set up Nexus with Docker. Start by pulling the official Nexus Docker image from the Docker Hub repository using the following command:
This will download the latest version of the Nexus image to your machine. You can then create a new Docker container based on this image. Create a docker-compose.yml file with below contents:docker pull sonatype/nexus3
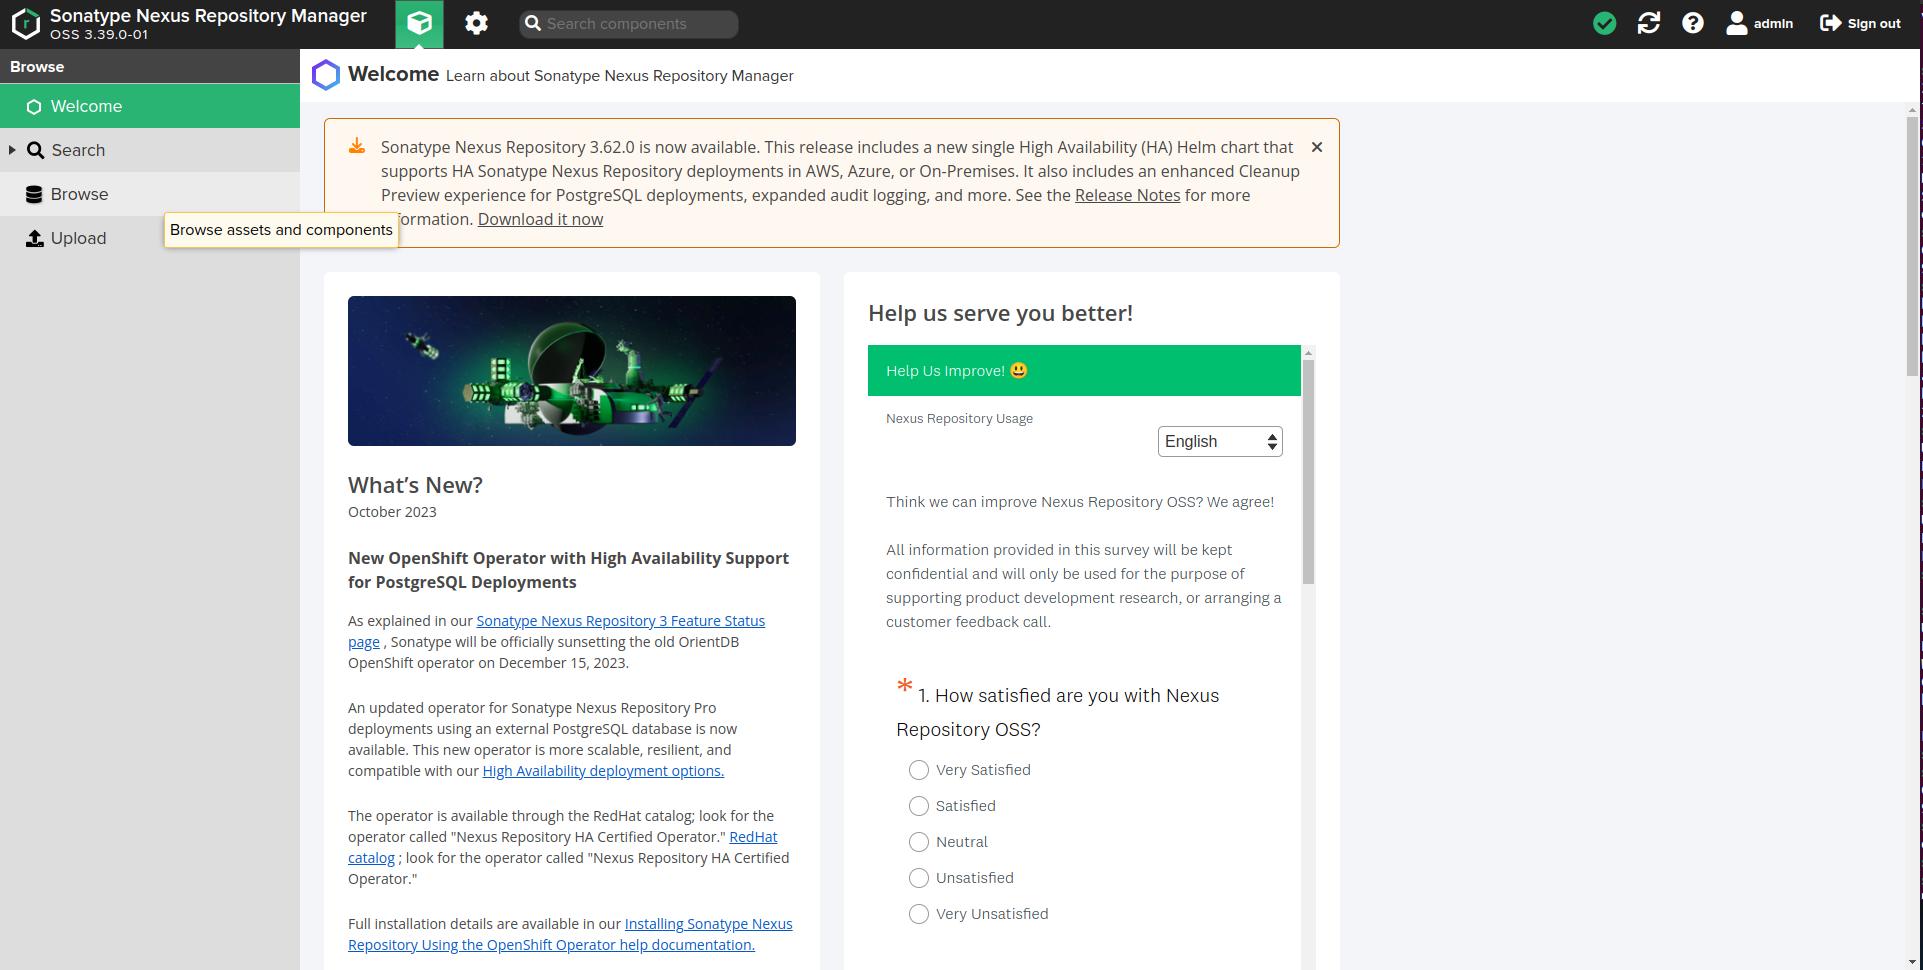
Now run “docker compose up”. This command will create a new Docker container named “nexus” and map port 8081 of the container to port 8081 of your machine. You can choose a different port if desired.version: '3' services: nexus: image: sonatype/nexus3 container_name: nexus ports: - "8081:8081" - "8082:8082" volumes: - nexus-data:/nexus-data volumes: nexus-data: - Configuring Nexus with Docker: After the container is created, you can access the Nexus web interface by opening a web browser and navigating to http://127.0.0.1:8081. The first time you access Nexus, you will be prompted to set up an administrator account and configure other settings. Follow the on-screen instructions to complete the initial configuration.
Follow below steps to find initial password.
docker exec -it nexus bash cat nexus-data/admin.password - Running Nexus with Docker: Once Nexus is configured, you can start and stop the Nexus container using the following commands:
These commands will start or stop the Nexus container respectively. You can also restart the container using the following command:docker start nexus docker stop nexusdocker restart nexus
Troubleshooting Common Issues When Running Nexus with Docker
- Docker container not starting: If the Nexus container fails to start, there may be an issue with the Docker configuration or the Nexus image. Check the Docker logs for any error messages that may provide clues to the problem. Additionally, ensure that the port specified in the Docker run command is not already in use by another application. You may need to allocate more memory to docker if the logs complain about memory issue.
- Nexus not accessible: If you are unable to access the Nexus web interface, there may be a network or firewall issue. Ensure that the port specified in the Docker run command is open and accessible from your machine. You can also try accessing Nexus from a different machine on the same network to rule out any local issues.
- Docker image not found: If you encounter an error message indicating that the Nexus image could not be found, ensure that you have pulled the image from the Docker Hub repository using the
docker pullcommand. If you have already pulled the image, try running thedocker imagescommand to verify that the image is present on your machine.
Best Practices for Running Nexus with Docker
- Regularly updating Docker images
- Backing up Nexus data:
- Monitoring Nexus and Docker logs
