K8s deployment using ArgoCD and Github Actions
Learn to integrate github actions with argo cd for efficient CI/CD kubernetes pipelines

In today’s fast-paced development environment, automating the deployment process is crucial for maintaining a rapid and reliable release cycle. One powerful combination that can help achieve this is ArgoCD and GitHub Actions.
ArgoCD is a GitOps continuous delivery tool that helps automate the deployment of applications to Kubernetes clusters, while GitHub Actions provides a robust CI/CD platform integrated with your GitHub repositories.
In this blog post, we’ll walk through the steps to set up ArgoCD with GitHub Actions for seamless application deployment.
Prerequisites
Before we get started, make sure you have the following:
- A GitHub account
- A Kubernetes cluster (you can use any cloud provider or a local setup like Minikube or KinD)
- kubectl CLI installed on your local machine
- ArgoCD CLI (argocd) installed on your local machine
Step 1: Setting Up ArgoCD
ArgoCD is a Kubernetes controller that helps manage applications within your cluster. It uses Git repositories as the source of truth for your application definitions. To install ArgoCD, follow these steps:
- Apply the ArgoCD manifests to your cluster:
kubectl create namespace argocd
kubectl apply -n argocd -f https://raw.githubusercontent.com/argoproj/argo-cd/stable/manifests/install.yaml
- Expose the ArgoCD service using a LoadBalancer (or any other appropriate method for your environment):
kubectl patch svc argocd-server -n argocd -p '{"spec": {"type": "LoadBalancer"}}'
- Retrieve the ArgoCD admin password:
kubectl get pods -n argocd -l app.kubernetes.io/name=argocd-server -o name | cut -d'/' -f 2
- Open the ArgoCD UI using the LoadBalancer IP or domain name:
argocd login <ARGOCD_SERVER_IP>
Step 2: Integrating GitHub Actions
Next, let’s set up a GitHub Actions workflow that will automatically deploy your application when changes are pushed to your repository.
- In your GitHub repository, create a .github/workflows directory if it doesn’t exist.
- Inside the workflows directory, create a new YAML file (e.g., deploy.yaml) with the following content:
name: Deploy to ArgoCD

on:
  push:
    branches:
      - main

jobs:
  deploy:
    runs-on: ubuntu-latest

    steps:
    - name: Checkout Repository
      uses: actions/checkout@v2

    - name: Set up Kubectl
      uses: azure/setup-kubectl@v1
      with:
        install_kubectl: true

    - name: Log in to ArgoCD
      run: argocd login <ARGOCD_SERVER_IP>

    - name: Deploy Application
      run: |
        argocd app sync <APP_NAME> --wait
Make sure to replace <ARGOCD_SERVER_IP> with the IP or domain name of your ArgoCD server, and <APP_NAME> with the name of your application.
Step 3: Configuring ArgoCD Application
Now, you’ll need to configure your application in ArgoCD to pull its definition from your GitHub repository.
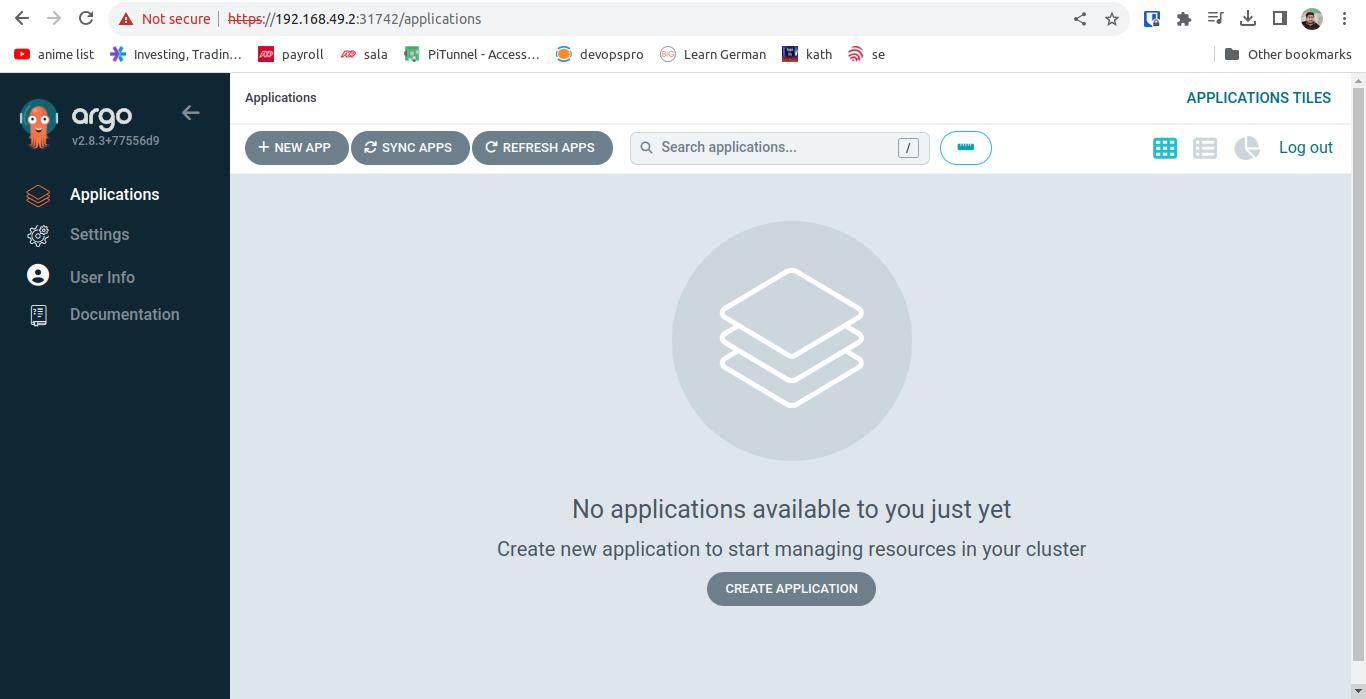
- Open the ArgoCD UI and log in.
- Click on the + NEW APP button.
- Fill in the necessary details:
- Application Name: Enter a name for your application.
- Project: Leave it as default.
- Source: Select Git and provide the repository URL.
- Path: The path to your application manifests within the repository.
- Cluster URL: The URL of your Kubernetes cluster.
- Namespace: The namespace where your application will be deployed.
- Sync Policy: Configure auto-sync options based on your preference.
- Click on CREATE.
Tip : By default, ArgoCD username is admin and password can be found in one time k8s secret called argocd-initial-admin-secret. Get the value of secret by running following command:
kubectl get secret argocd-initial-admin-secret -n argocd -oyaml | yq .data.password | base64 --decode
Step 4: Test the Workflow
Now that everything is set up, it’s time to test the workflow:
- Make a change in your application’s repository (e.g., update a YAML file).
- Commit and push the changes to the main branch.
- Go to the Actions tab in your GitHub repository. You should see a new workflow run triggered by the push.
- Click on the workflow run to monitor its progress. The steps should include setting up kubectl, logging in to ArgoCD, and deploying the application.

Conclusion
Congratulations! You’ve successfully set up ArgoCD with GitHub Actions for automated application deployments. This powerful combination allows you to maintain a seamless and efficient release process, ensuring that your applications are always up-to-date and running smoothly on your Kubernetes cluster.
By utilizing GitOps principles, you can easily manage your application configurations, track changes, and roll back to previous versions if necessary. This setup provides a solid foundation for your continuous integration and continuous deployment pipeline. Happy deploying!
